
If you are a follower of my newsletters you know that in the past two months of my job I've spent a lot of time in the office with fellow new staff members in a "class format" learning about principles and processes of Trip and LTE (Leadership Training Event). We also got a week to head out to our mission site in Houck, AZ (Navajo Nation) and apply some of those principles and processes on work projects out there which included dry-walling, painting, and re-tiling floors.
However, a large majority of our stateside projects consist of building decks... and it just so happens that the Executive Director of LeaderTreks needed a new deck, so Summit Year One staff members took a week out of the office to learn and practice the very specific details of
DECK BUILDING!

Before ~
I promise this is an old deck behind these massive trees. The first morning we demolished the deck and that afternoon two team members took our van full of wood to the dump to dispose of it while myself and Brandon headed for Menard's to buy all of the new wood and supplies needed.
That evening John took out the trees himself.

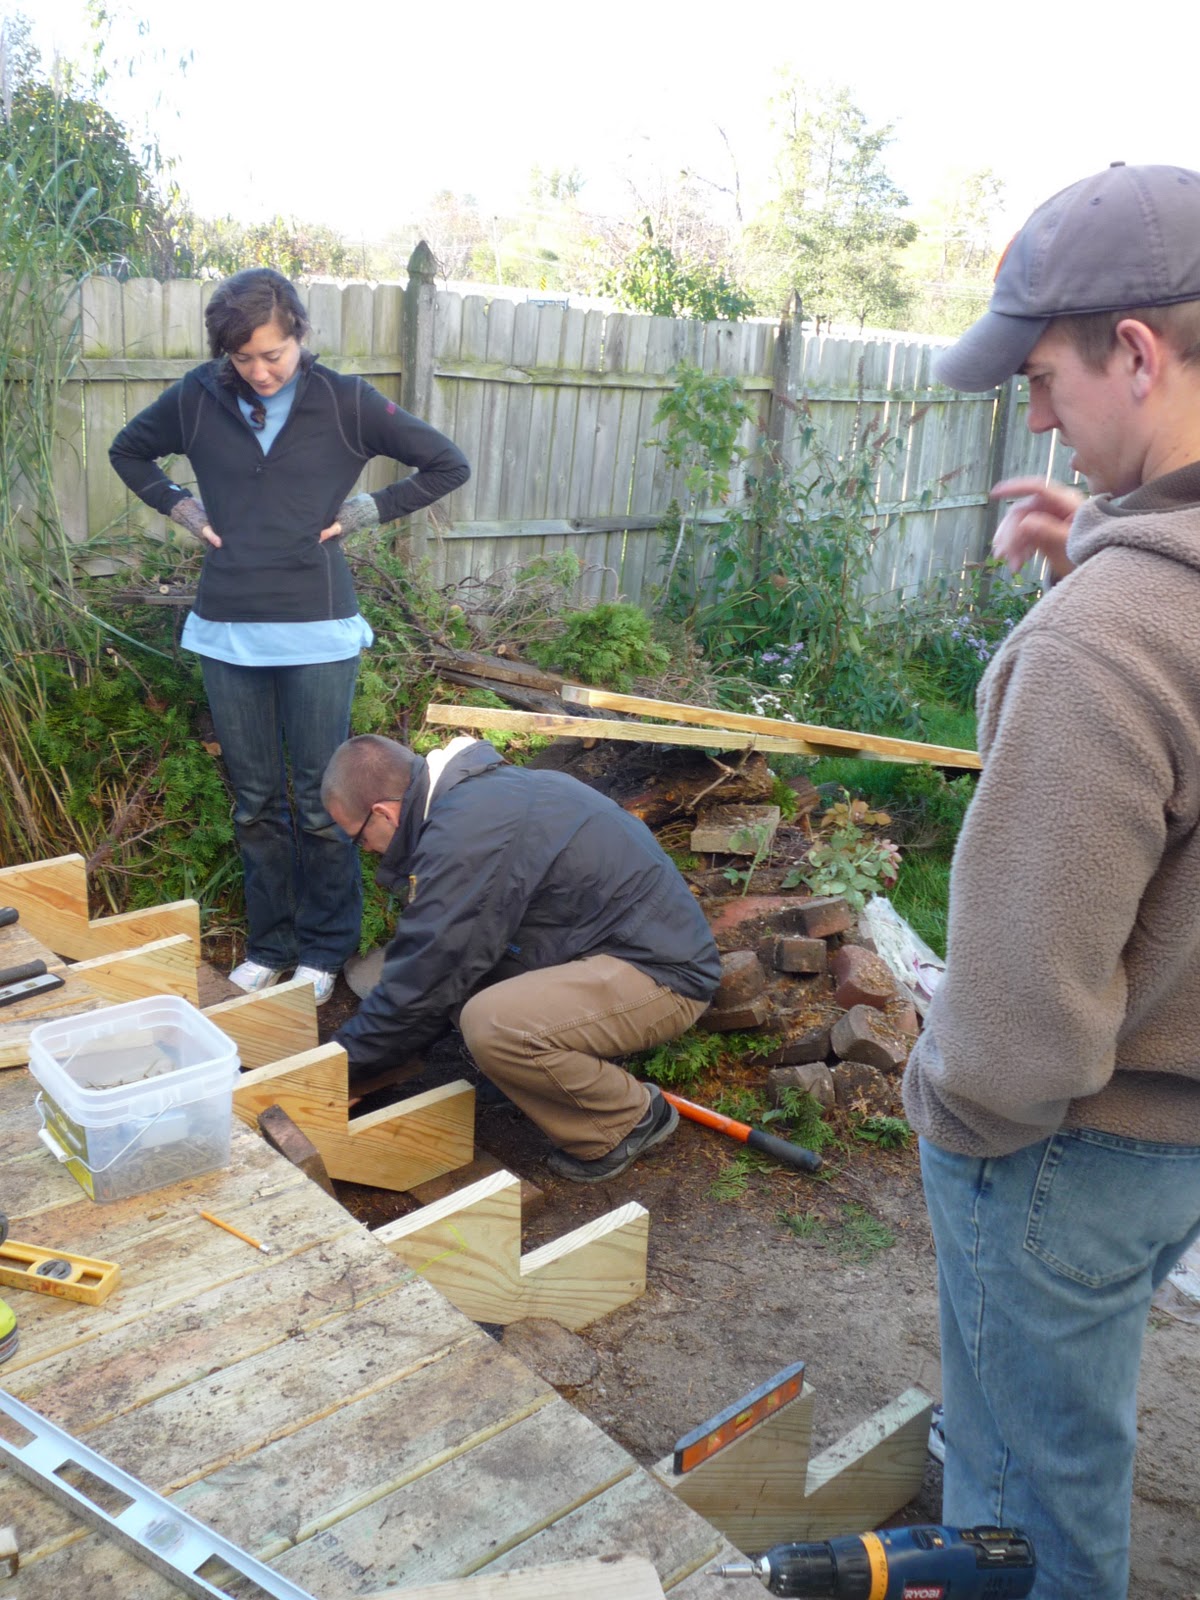
Figuring out how to best remove the old railing. Saw? Hammer? Sledge Hammer?
We ended up mostly kicking it down.
John's (boss & home owner) kids were around throughout the week to help out and provide encouragement.

Robbie took charge of taking down the old awning that was falling apart.
After lots of blood sweat and tears we got to this point

We decided to leave two of the base pieces from the old deck because they were still in good enough condition. On other decks that I will build though we will have to dig holes for new posts and fill in concrete.
Abby and Brandon are figuring how to attach a third base piece to the side out of the house for final support.
*Note: Even though it seems wise to start from the back of the deck because that is where you already have something in place. Don't. Start from the house and make everything level from there. This small fact will save you some time ;)

Level is the key!
We all worked together to make sure this base was perfect.


Once we had those three planks in and level we started attaching 2x6 planks across them.
 |

This takes the skill of toe-nailing the screw in.
The technique of driving a nail at an angle to join two pieces of lumber
Read more: http://www.answers.com/topic/toenailing#ixzz1buZ7u9eG
Read more: http://www.answers.com/topic/toenailing#ixzz1buZ7u9eG

Once those are all attached it is necessary with this set up to brace these boards so once we get the planking boards attached the whole deck doesn't wobble.

I measured the appropriate lenghts and passed that info on to Brandon who skillfully cut more 2x6s into the right lenght so that...
Abby & Robbie could attach them.

 |
No toe-nailing needed here!
|
Once those were all attached we all began attaching the planking boards that are the face of the deck.

This takes the work of the whole crew. Brandon (yellow shirt) was in charge of making sure the boards on his end lined up and were perfectly level. We each were in charge of making sure that the board was the right distance apart on the section in front of us. We used a nail to determine distance.

Abby challenged herself during this process by using a corded drill. This was a difficult task because it does not have the automatic stop that a cordless drill has, but she stuck with it and will have the ability to challenge students with finishing what you start.


Our very straight edged deck.
Tuesday, Wednesday, & Thursday were bitterly cold

But we pressed through the weather to complete our tasks!
Once the planking was done we began figuring out how to attach our posts.

 |
Because we added the posts after planking we had to chisel out the
spots to attach to our deck. I warred with this one because it had
several nasty knots. But we got through it.
|

After cutting holes we then had to attach them.


Which required some dirty work under the deck.
But it was quickly over.

Once the posts are attached, the railing and steps are the last thing you do.


The railing takes a lot of planning because they have to be evenly spaced along the whole deck.
This is a lot of detail work.

But so worth it when done correctly.

Steps are the final step ;D
This also takes some leveling and toe-nailing skills.

We surrounded the the base of the deck with planking cut to size so that animals can't get underneath it.
So here is our finished deck.
You can see the finished steps and Abby entering through our gate.

It looks so much more open after removing those trees and leaving the side open to the rest of the backyard.
And the finished deck with most of our building team.

Brandon, Myself, John & Abby
(Robbie took the day off for his birthday)
I hope you enjoyed getting to see us do a little hard work.
If you ever need a deck built just give me a call.
If you ever need a deck built just give me a call.
No comments:
Post a Comment